La Crosse Technology WT-5432 User Manual
Browse online or download User Manual for Alarm clocks La Crosse Technology WT-5432. La Crosse Technology WT-5432 User's Manual
- Page / 16
- Table of contents
- BOOKMARKS
Summary of Contents
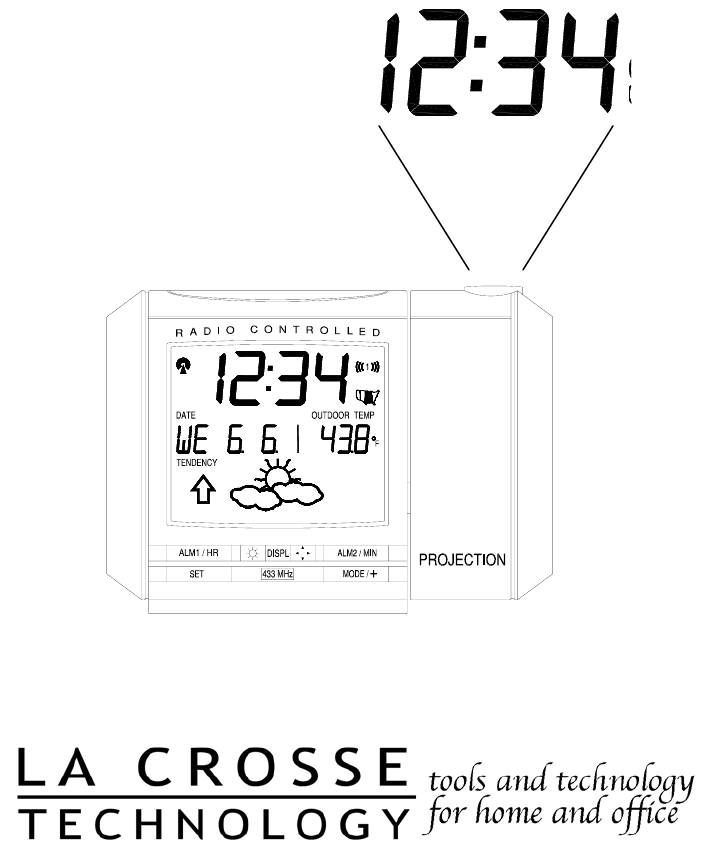
WT-5432 433 MHz Radio Controlled Projection Alarm Instruction Manual
10Clouds with Rain—indicates that the weather is expected to get worse (not that the weather will be rainy). The weather icons change when the unit
115. The transmitter should not be mounted on a metal surface. 6. The transmitter and projection alarm should be kept away from other sources of
12c. To disable the alarm for 24 hours press and release any button other than the “SNOOZE” bar or projection keys. H. Changing the Display Mode
133. Adhere the tape to the designated area on the back of the mounting bracket. 4. Remove the protective strip from the other side of the tape. 5
14reception. 6) If problems persist contact La Crosse Technology. Problem: Hour is incorrect (minute and date are correct). Solution: 1) Be sure cor
15WARRANTY INFORMATION La Crosse Technology provides a 1-year warranty on this projection alarm. Contact La Crosse Technology immediately upon dis
16FCC ID: OMO-01RX (receiver) OMO-01TX (transmitter) THIS DEVICE COMPLIES WITH PART 15 OF THE FCC RULES. OPERATION IS SUBJECT TO THE FOLLOWING TWO
2TABLE OF CONTENTS Topic Page Inventory of Contents/ Additional Equipment 3 About WWVB 3 Quick Set-Up Guide 4 Detailed Set-Up Guide Battery Insta
3INVENTORY OF CONTENTS 1) WT-5432 projection alarm 2) TX6U remote temperature sensor 3) AC adapter/transformer (6V) 4) Instruction manual and wa
4Battery Cover NOTE: Fog and mist will not harm your remote sensor but direct rain must be avoided. To complete the set up of your temperature sta
5the WWVB search is being conducted various numbers will appear in the time display. After 10 minutes, the projection alarm will either display the
6 4. From –5h to –8h, a US map with the highlighted time zone will also be displayed to the right of the time display. 5. Press and release
7Note: when setting the hour, “PM” will appear to the left of the hour display, if it is AM nothing will be displayed. 2. Press and release the “S
85. Six modes of date/seconds/temperature display 6. Indoor temperature 7. Remote outdoor temperature 8. Dual alarms 9. Adjustable snooze B.
9between time and remote temperature (M2) by pressing the “DISPL” button. The selected display mode will flash on the lower left as “M0”, “M1” or “M
Related products and manuals for Alarm clocks La Crosse Technology WT-5432
 (16 pages)
 (3 pages)
© 2020, manymanuals.com. All rights reserved. | 0.086 s |
 Manymanuals.com
 Manymanuals.de
 Manymanuals.fr
 Manymanuals.it
 Manymanuals.pl
 Manymanuals.cz
 Manymanuals.es
 Manymanuals-pt.com
Comments to this Manuals